The Best Methods for Efficient Shingle Removal
Wondering if it’s time for shingle removal? This article guides you through recognizing signs of damaged shingles, gathering the right tools, and following a step-by-step shingle removal process to protect your home from water damage.
Key Takeaways
-
Old roof shingles showing signs like curling, cracking, or missing granules need to be removed to prevent water damage.
-
Using the right tools, such as roofing shovels and safety gear, is essential for effective and safe shingle removal.
-
Proper preparation and disposal of roofing debris are crucial for a smooth shingle removal process and a stable foundation for new shingles.
Understanding the Basics of Shingle Removal
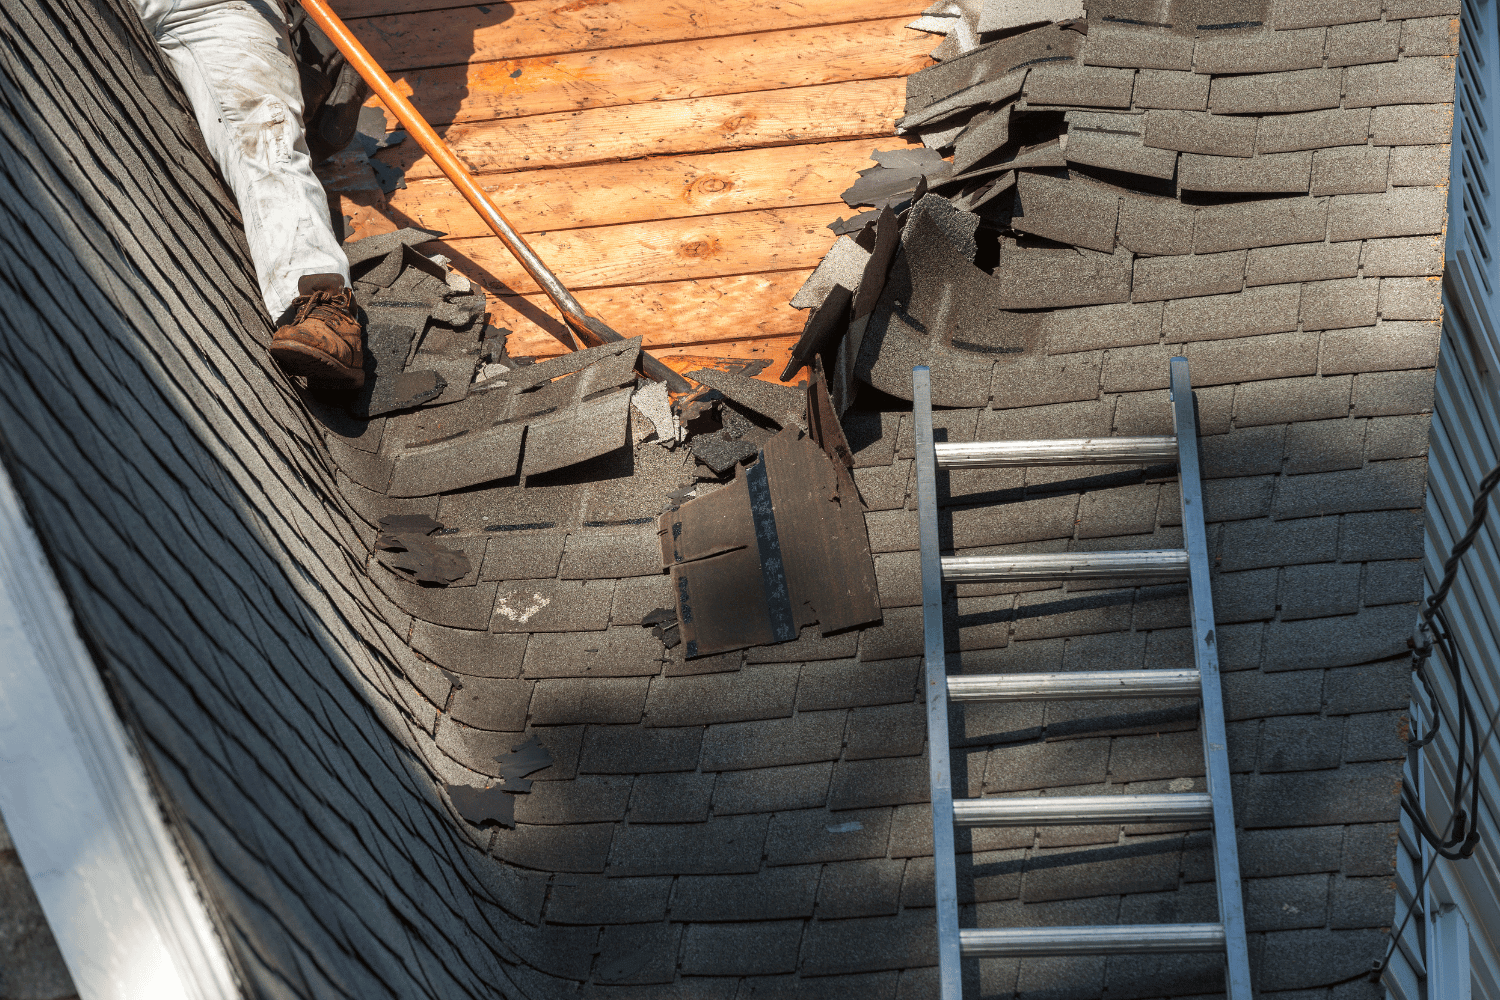
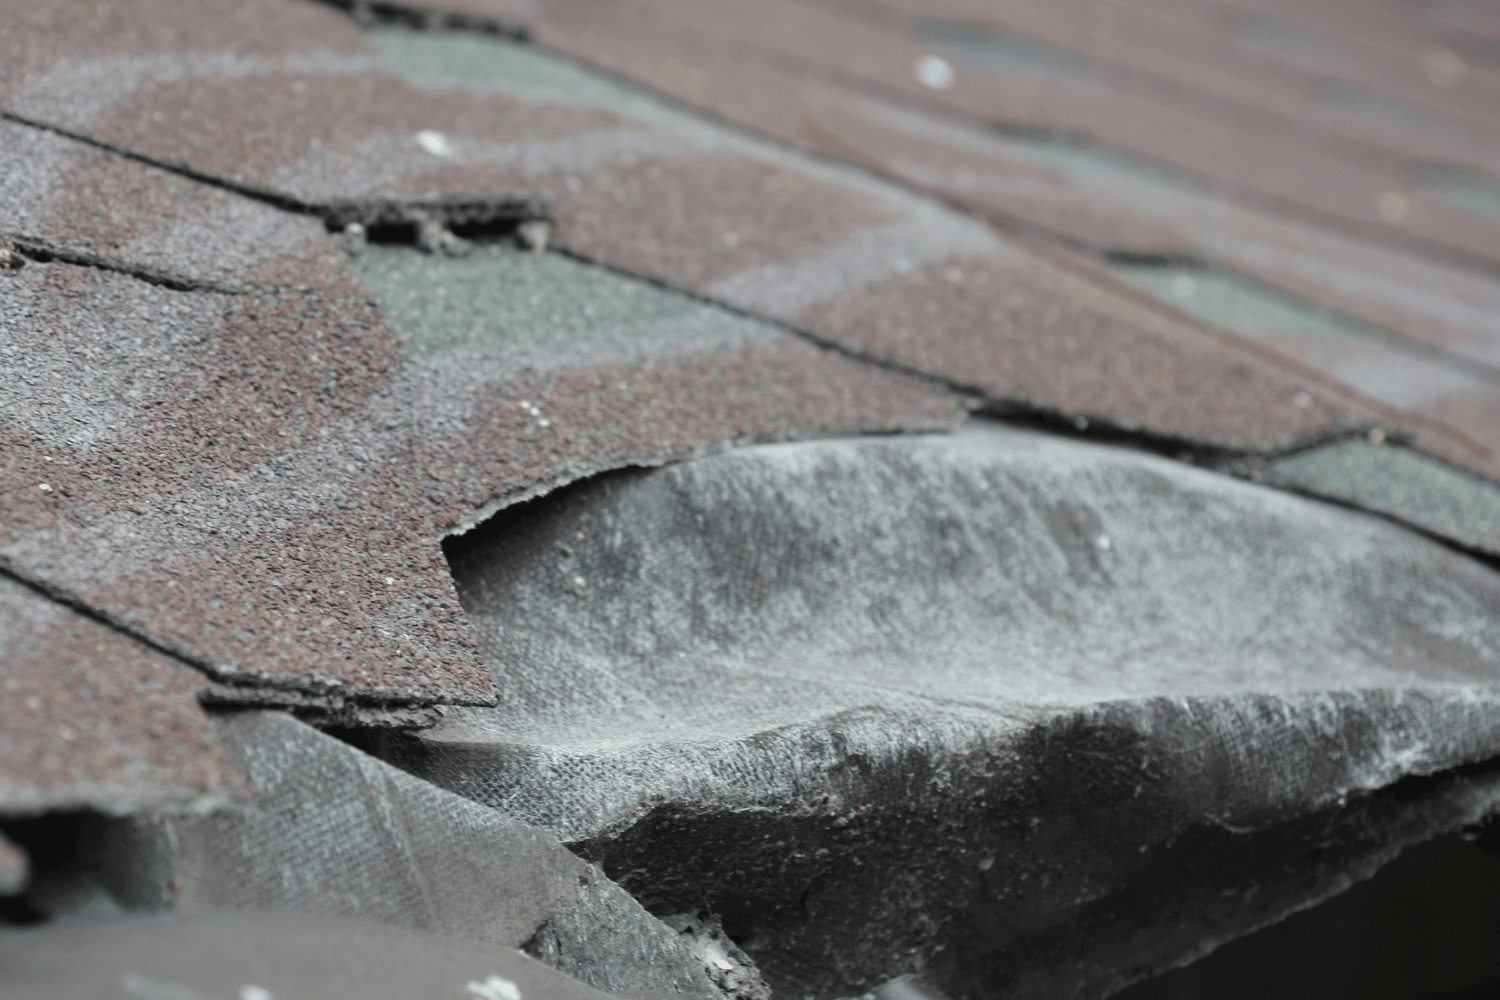
Regularly removing and replacing roof shingles extends the life of your roof and protects your home from water damage. Over time, old roof shingles can show signs of wear, such as curling, cracking, and missing granules. Curling shingles indicate aging and can become brittle, making them more likely to be blown off during high winds. If you find shingles have blown off your roof, it’s a clear sign they have deteriorated and need replacement.
The age of your roof is another critical factor to consider. Most roofs that are older than 14-20 years are likely due for replacement, even if they don’t show obvious signs of wear. Missing granules on shingles can also indicate deterioration, leading to accelerated wear from UV damage. Understanding these basics helps you recognize when it’s time to remove the shingles and start the re-roofing process.
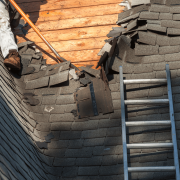
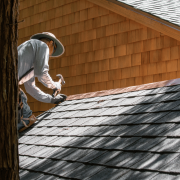
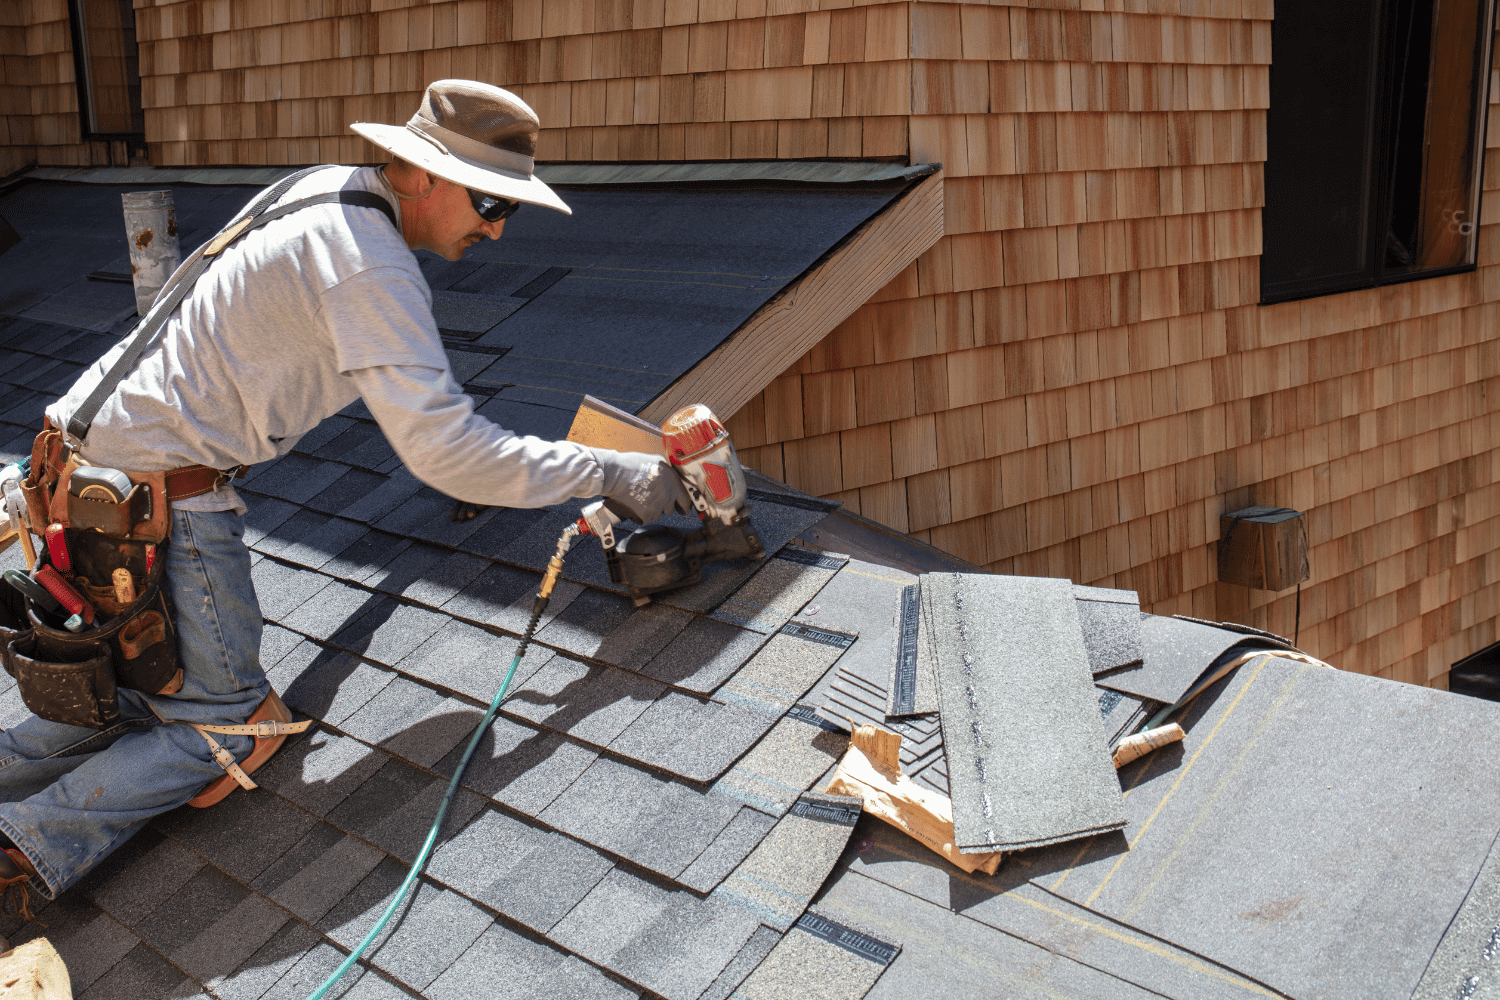
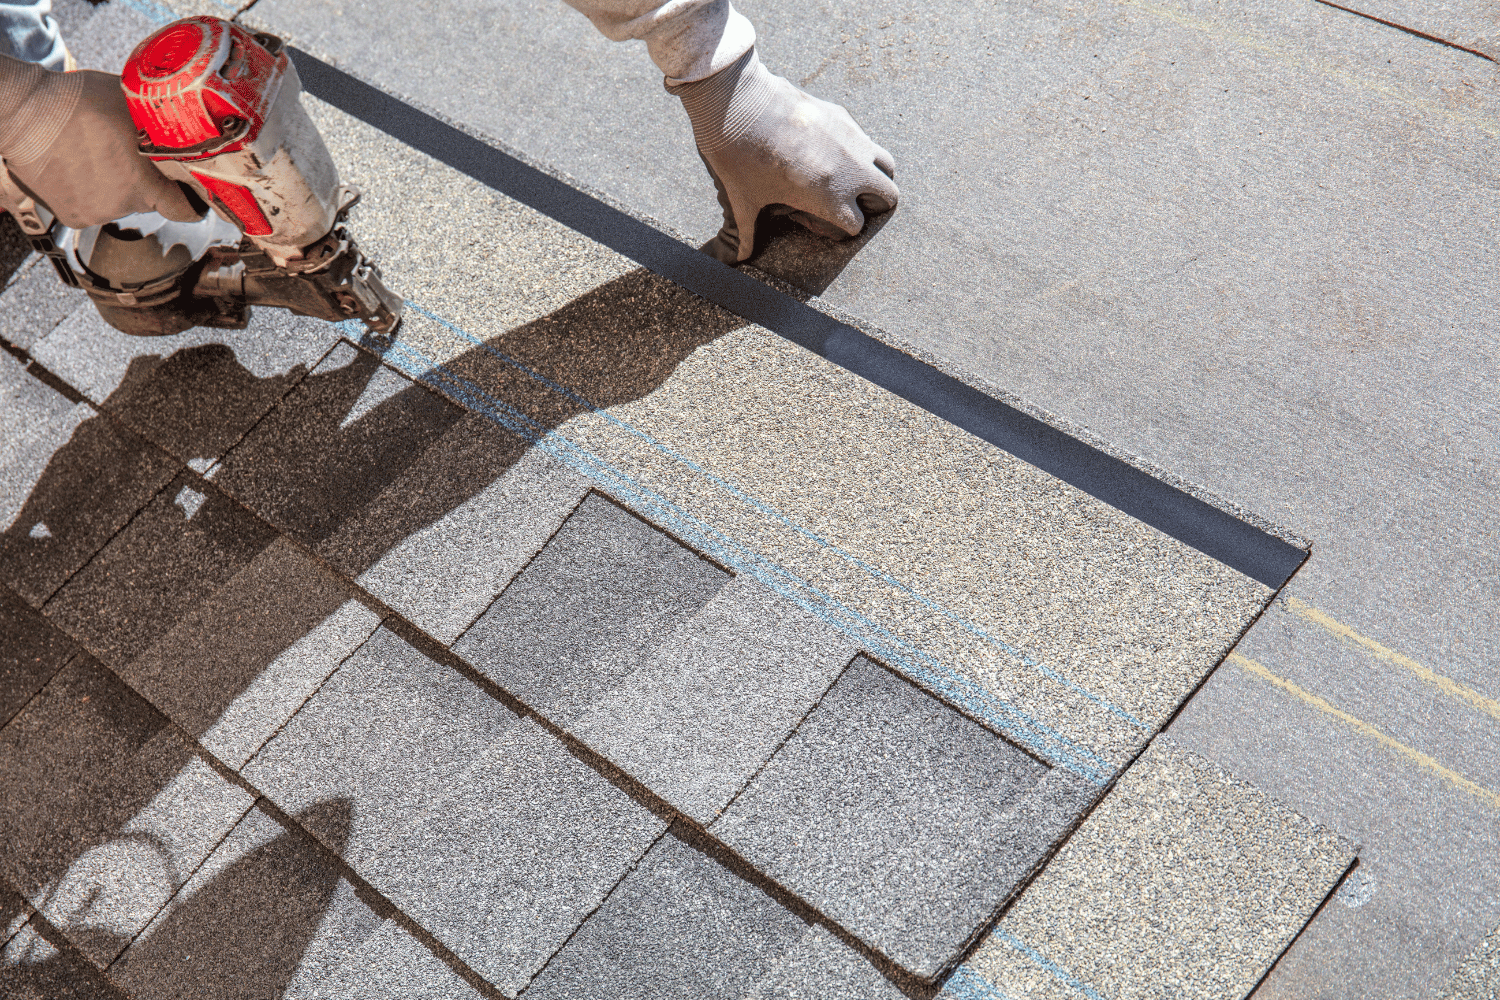
The shingle removal process, often referred to as a roofing tear-off, involves stripping away the old shingles to create a clean surface for the new ones. This process not only ensures a stable foundation for the new shingles but also allows for the inspection and repair of any hidden damage to the roof deck.
Carefully removing the existing shingles prevents further damage and extends the overall lifespan of your roof.
Signs It’s Time to Remove Your Roof Shingles
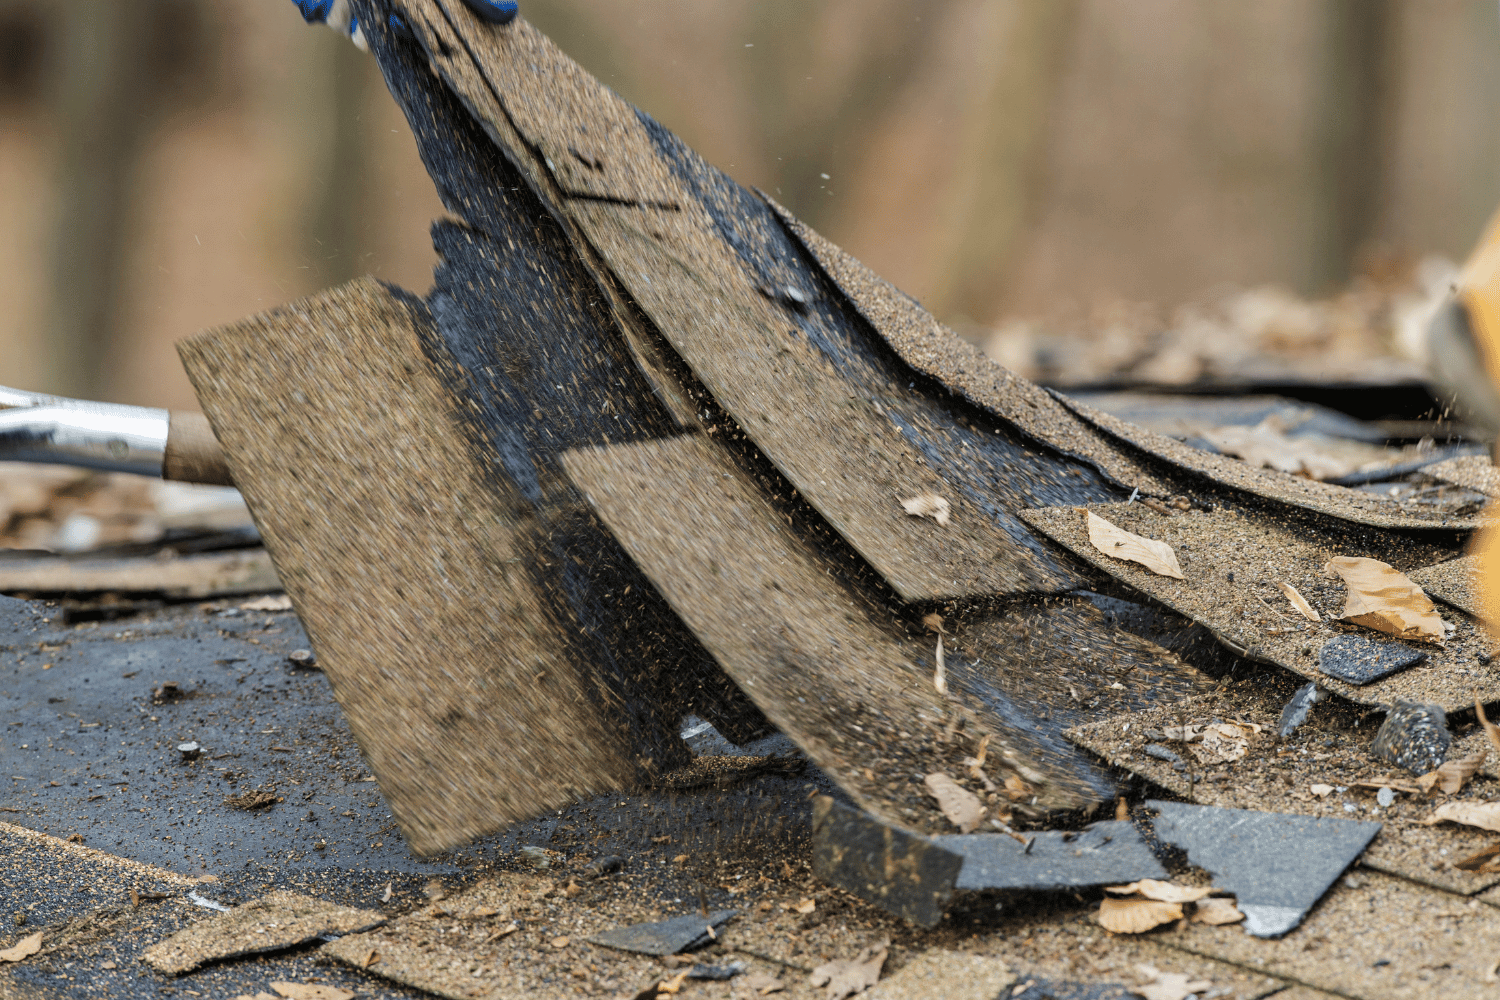
Certain signs suggest it’s time to remove and replace your roof shingles. Water damage inside your home is one of the most telling signs that your roof may need attention. When water penetrates the roofing materials, it can cause significant damage to the interior of your house, leading to costly repairs.
Before:
Other indicators include curled or cracked shingles, missing granules, and exposed underlayment. Curled or cracked shingles are often the result of aging and exposure to the elements, making them less effective at protecting your home. Missing granules can lead to accelerated wear from UV damage, and exposed underlayment means the shingles are no longer providing adequate protection.
After:
Other indicators include:
-
Curled or cracked asphalt shingles, which are often the result of aging and exposure to the elements, making them less effective at protecting your home.
-
Missing granules, which can lead to accelerated wear from UV damage.
-
Exposed underlayment, which means the shingles are no longer providing adequate protection.
Extensive moss growth on shingles can also signal the need for shingle removal. Moss can lift the shingles, allowing water to seep underneath and cause damage. Removing old shingles ensures a stable foundation for new roofing materials, helping to prevent further deterioration and potential leaks. Noticing any of these signs means it’s time to consider a roofing tear-off and prepare for a new roof.
Tools You’ll Need for Shingle Removal
Having the right tools ensures a smooth and efficient shingle removal process. Key tools include a roofing shovel for removing shingles, a pry bar for extracting nails, and adjustable roof jacks for securing your position while you work. These tools help you carefully remove the shingles without damaging the underlying materials.
Safety equipment is also crucial. A good safety harness with hooks will protect you from falls, and work gloves will shield your hands from sharp edges and debris. Additionally, a straight claw hammer is useful for driving nails or prying out staples in hard-to-reach areas, while a garden fork can assist in prying off shingles during the removal process.
Proper disposal tools are necessary to manage the removed shingles and other debris. Setting up a trash container to collect the roofing debris will help keep the work area clean and safe. A broom magnet is handy for collecting stray nails from the yard, ensuring no hazardous materials are left behind. Having all necessary tools on hand minimizes risks and improves the efficiency of your shingle removal process.
Preparing Your Property for Shingle Removal
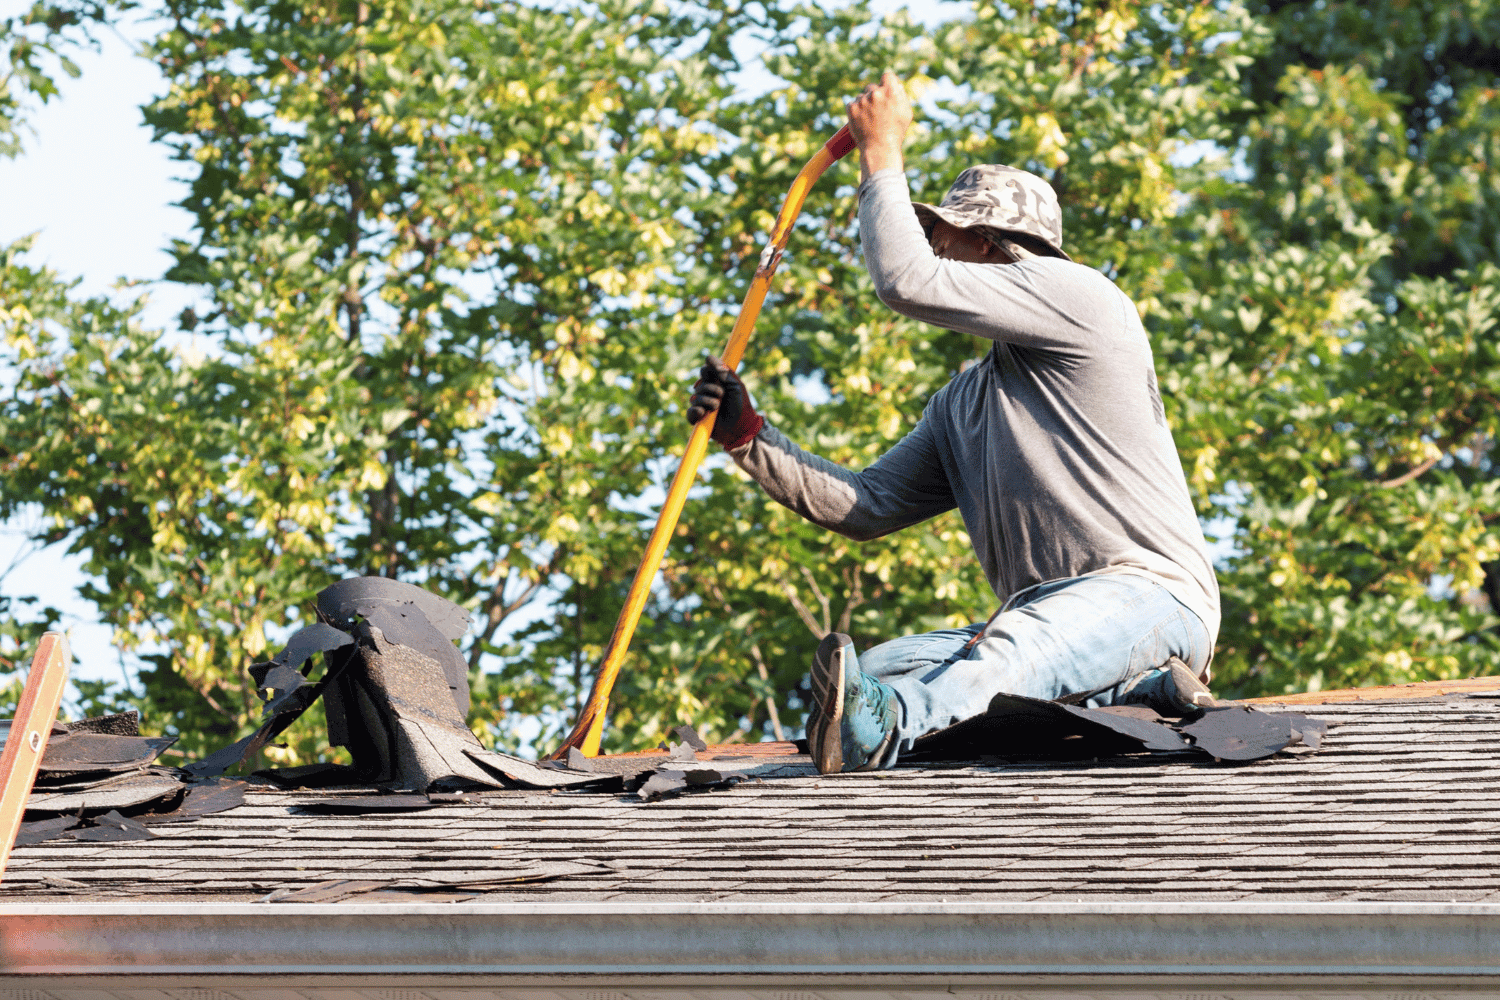
Prepare your property to prevent damage before you start tearing shingles off your roof. Covering your property and securing items will protect them from falling debris during the shingle removal process. For instance, placing plywood over your air conditioner and boarding up any windows you’re worried about damaging will safeguard these vulnerable areas.
Protecting your landscaping is also essential. Cover bushes and shrubbery with tarps to shield them from roofing debris. Renting a trash container is a practical solution for managing debris disposal efficiently during roof shingle removal.
Taking these precautions ensures your shingle removal project proceeds smoothly without causing unnecessary damage to your property.
Step-by-Step Guide to Removing Roof Shingles
Now that you’re prepared, it’s time to dive into the step-by-step guide to removing roof shingles. This guide will cover everything from starting at the peak of the roof and working downward to removing flashing and nails, and finally, cleaning the roof deck.
Following these steps ensures a thorough and efficient shingle removal process.
Start at the Peak and Work Downward
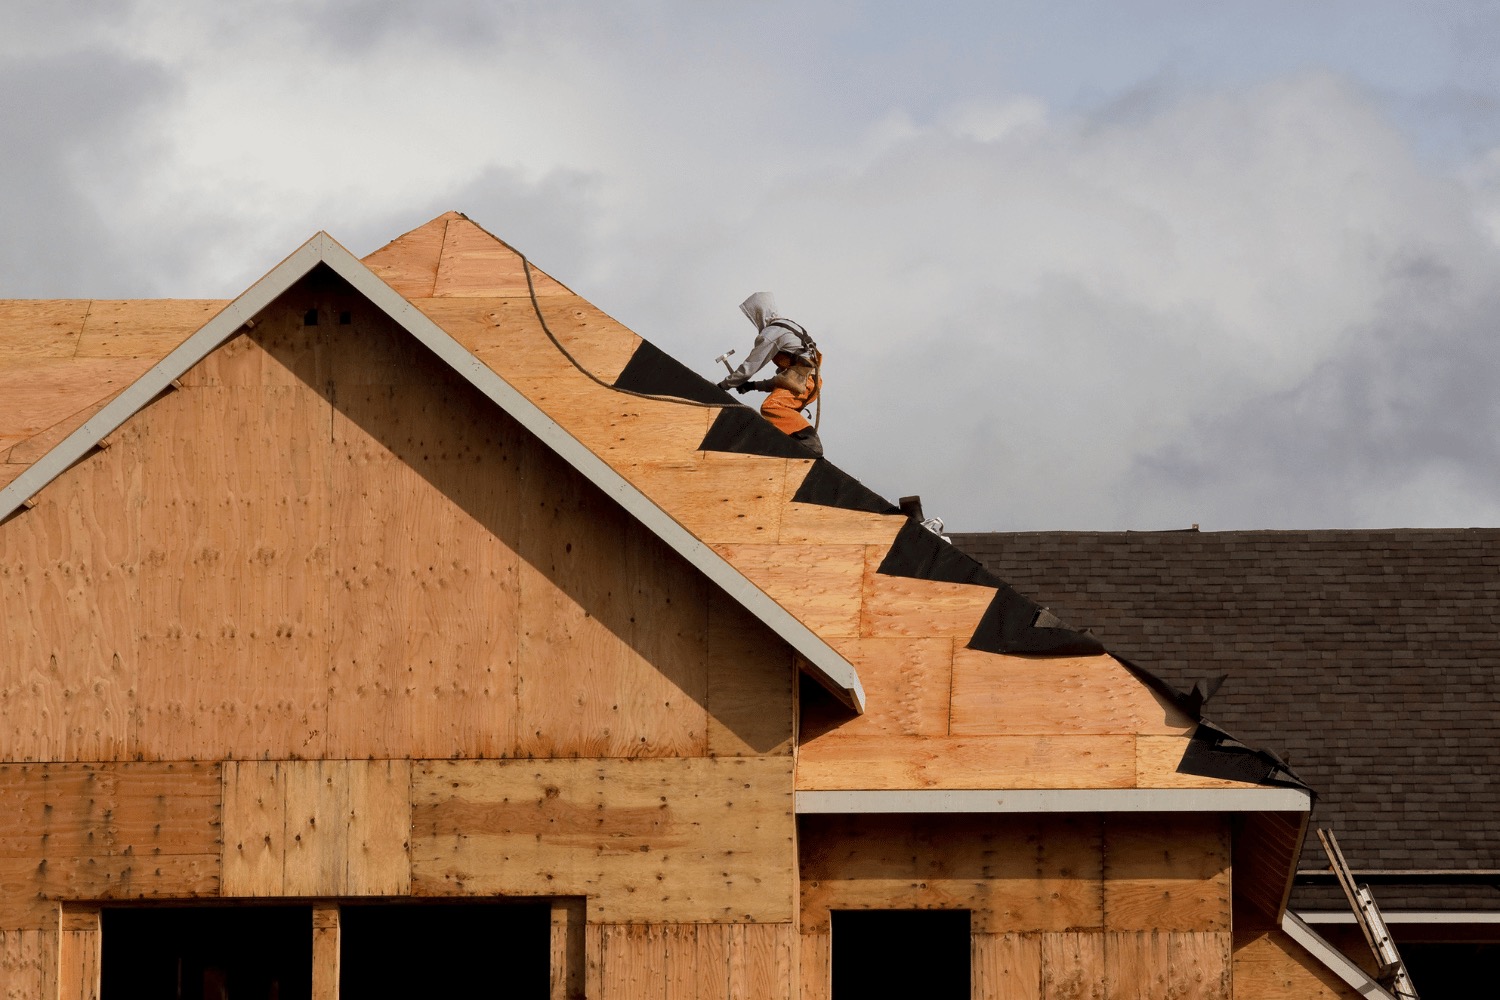
Begin the shingle removal process at the peak of the roof farthest from your disposal method. This ensures that as you remove the shingles, you won’t be walking over loosened shingles, which can be hazardous. Start by removing the ridge caps and work your way down in manageable sections, typically 2.5 to 3 feet wide.
Start by listing some forbidden forms of the keyword “remove shingles” according to the rule 5. Remove the shingles in the reverse order of how they were laid down, progressing layer by layer. This method helps in systematically removing all the shingles without missing any spots.
A garden fork can make this process easier by effectively prying off the shingles. Remember to wear long pants and proper protective gear to avoid injuries from stray shingles and debris.
Remove Flashing and Remaining Nails
After removing the shingles, the next step is to remove the flashing and any remaining nails. If the flashing shows signs of wear, such as rust or cracks, it should be removed and discarded. Start at the top of a valley when removing valley and vent flashing to ensure you remove it systematically.
The final step of the shingle removal process involves pulling out the remaining nails. Use a pry bar and a carpenter’s apron to collect the nails as you go, preventing them from falling into the yard and becoming a hazard. Ensuring that all nails are removed will make the roof deck clean and ready for the new shingles.
Clean the Roof Deck
After removing all the shingles and nails, clean the roof deck. Sweep the roof clean with a push broom to remove all the roofing debris. Pull out any protruding nails and inspect the roof deck for damaged sheathing that may need repairs.
Cleaning the roof deck thoroughly is crucial for the new roofing materials to adhere properly. Make sure the surface is smooth and free of any debris or loose materials. This will provide a solid foundation for the next steps in the roofing process, ensuring the longevity and effectiveness of your new shingles.
Disposal of Old Shingles and Roofing Debris
Properly disposing of old shingles and roofing debris is crucial during the shingle removal process. Renting a dumpster is a convenient method for disposing of old shingles and other roofing debris. During the removal process, toss the old shingles into the trash container below or the designated dump area.
A magnetic broom helps sweep the lawn for stray nails, ensuring no hazardous materials are left behind. Additionally, self-propelled dump trailers can facilitate efficient collection of debris, preventing the accumulation of materials and keeping the work area clean.
Proper disposal ensures a safe and organized work environment.
Installing Ice & Water Barriers and Felt Paper
After the shingle removal process, installing ice and water barriers is crucial for protecting your roof. These barriers are applied to vulnerable areas such as eaves, rake edges, and valleys to prevent damage from ice dams and wind-driven rain. The adhesive backing of these protectors helps create a watertight seal around nail penetrations during shingle installation.
Once the ice and water barriers are in place, the next step is to install the felt paper. Roll out the felt paper in sections and staple it down flat without bumps or ripples to ensure a smooth surface for the new shingles. Avoid installing these materials in rainy conditions, as moisture can hinder adhesion.
This preparation step ensures the longevity and effectiveness of your new roof.
Tips for Ensuring Safety During Shingle Removal
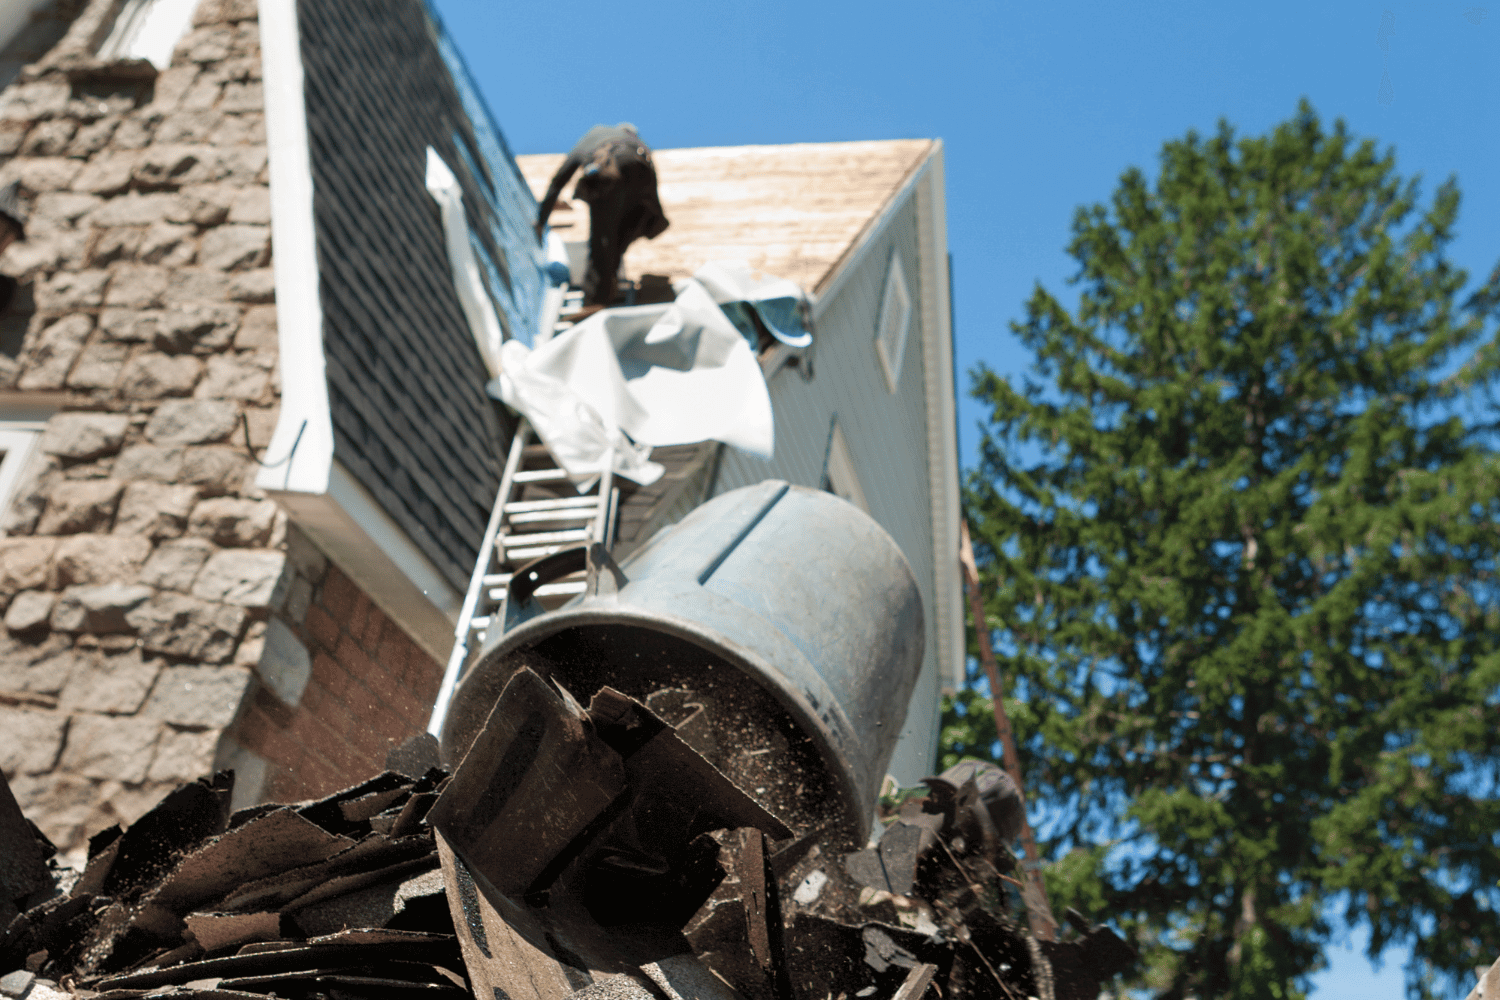
Safety should always be the top priority during the shingle removal process. Investing in a good safety harness with hooks is crucial to prevent falls, especially when working at height. Additionally, wearing work gloves and goggles will protect your hands and eyes from sharp edges and debris.
Monitor weather conditions closely, as rain or wind can create slippery surfaces and increase safety risks. Shoes with soft rubber soles provide better traction, and wearing long pants can protect your legs from debris. Make sure your ladder is stable and placed on a flat surface to prevent falls during the roofing job.
Following these safety precautions minimizes risks and ensures a safe working environment.
The Benefits of Hiring a Roofing Professional
While DIY shingle removal can be rewarding, hiring a professional roofing contractor offers several benefits. Professionals bring expertise and experience, ensuring the roofing job is done correctly and adheres to industry standards. Licensed and insured professionals also protect homeowners from potential liabilities associated with accidents during the roofing process.
Professional disposal services ensure compliant and environmentally friendly removal of roofing materials, streamlining the process. Hiring a professional roofing contractor ensures a safer, more efficient, and expertly executed shingle removal and installation process.
For high or challenging roofs, calling a professional is generally safer.
Post-Removal Inspection and Preparation for New Shingles
After removing the old shingles, inspect the roof deck for any hidden damage that might not have been visible initially. Rotted decking beneath the shingles can lead to loose nails and eventual leaks, so it’s important to check for and repair any compromised areas.
During the inspection, also check the flashing for signs of wear, cracks, and rust. Repair or replace any damaged materials to ensure a sturdy foundation for the new shingles.
Once the inspection and repairs are complete, remove stray nails and sweep the area clean. This preparation step is essential for the successful installation of new shingles.
Summary
In summary, removing old roof shingles is a necessary task to extend the life of your roof and protect your home from water damage. By understanding the signs that indicate it’s time for a roofing tear off, having the right tools, and following a systematic removal process, you can ensure a successful project. Preparing your property and ensuring safety throughout the process are also crucial steps.
Hiring a professional roofing contractor offers expertise, efficiency, and peace of mind, especially for challenging roofing jobs. Whether you choose to tackle the project yourself or seek professional help, thorough inspection and preparation of the roof deck are essential for the longevity and effectiveness of your new shingles. We hope this guide has provided valuable insights and practical tips for your shingle removal project.
Frequently Asked Questions
What are the signs that it’s time to remove my roof shingles?
If you notice water damage, curled or cracked shingles, missing granules, or extensive moss growth, it’s definitely time to consider removing your roof shingles. These signs can lead to bigger problems if not addressed soon!
What tools do I need for shingle removal?
You’ll need a roofing shovel, pry bar, and adjustable roof jacks, along with safety gear like a harness and gloves. Don’t forget a trash container for easy cleanup!
How should I prepare my property for shingle removal?
To prepare your property for shingle removal, make sure to cover and secure any items and protect your landscaping with tarps. Renting a trash container for debris disposal is also a smart move.
Why should I hire a roofing professional?
Hiring a roofing professional guarantees that the job is done right and safely, thanks to their expertise and efficiency. Plus, they handle proper disposal, giving you peace of mind.
What should I do after removing the old shingles?
Make sure to inspect the roof deck for any damage and repair it if needed. Clean the surface thoroughly to ensure the new shingles adhere properly.

